

One of the most beloved and unexpected outcomes of the Oregon Timber Trail was the blossoming of an energetic and highly effective community of volunteer trail stewards. Since 2017 this community has invested over 10,000 hours of their time making public lands better—making the lands that belong to us all more accessible and more enjoyable. With multiple wildfires damaging the trail and COVID-19 limiting our larger volunteer events, we’ve decided it’s time to ask for your help.
Much of the trail maintenance that the Oregon Timber Trail Alliance does each year requires the support of the US Forest Service. Using chainsaws to clear trails requires a certification and major dirt disturbing trail modifications can require an environmental assessment or make matters worse if done incorrectly. Not to mention there are considerable safety risks inherent in using a chainsaw and moving large rocks and logs. That being said, there’s a lot you can do to help while you’re out enjoying your next ride or hike on the Oregon Timber Trail!
Here’s an in-depth dive on the techniques and tools we recommend for basic trail maintenance.

Photo: Gabriel Tiller
Safety (PPE)
First and foremost we want you to stay safe and have fun. Getting hurt is no fun for anyone and it’s surprisingly easy to do when you’re doing trail work. Be aware of your surroundings and never put yourself or others in danger. At our official volunteer events we have strict Personal Protective Equipment (PPE) requirements. You probably don’t wear heavy pants and boots on your rides but we still want you to protect yourself—keep your helmet on, keep your riding gloves on, and if you don’t already wear eye protection you should consider it. When moving sticks, rocks, and logs maintain situational awareness and be careful not to injure your riding buddies.
Common issues & solutions
“What should I look for when riding?” Anyone can assess what makes a trail less fun and less safe: logs and small trees require dismounts, brush can poke and grab, and trails that don't drain can become unridable. Users cutting corners will braid the trail and cause erosion and mud puddles can widen quickly with user traffic and eventually dry unevenly, ruining the trail for the season.

Photo: Gabriel Tiller
1) Logs, Trees, and Trail Blockage
This is the most obvious and most frequent issue on backcountry trails. When we first established the Oregon Timber Trail there was one mile of the Fremont Tier that had 542 trees fallen across it. In one mile! Much of the time you can’t do anything if you encounter a fallen log on a ride. If it’s too big to move safely just leave it be, take a photo, and leave a Trail Report on the Trailforks App.
Some fallen logs and small trees can be safely cut out with a handsaw, here are some basic tips to stay safe and clear the trail efficiently:
Limbing: Even if the log is too big to saw through, cutting limbs off makes it much easier to scramble over
Hulk Smash: Sawing is hard, tiring work so check to see if the log can’t just be moved off trail by hand first. Lift with your legs!
Binds: For those that do require cutting make sure to keep your fingers clear of the saw teeth and be careful of the log ‘binding’ and trapping your saw blade.
Go wide: Logs should be trimmed to at least 36” wide to prevent pedal strikes and stubbed toes. If possible, cut higher on the backslope (uphill) side and leave the log protruding a bit on the outslope (downhill) side. This creates a natural grade reversal and adds playfulness to the trail’s character. [see example photo]
Clean your room: You probably made a big mess. Throw all debris well off the downhill side of the trail. (If the forest burns, too much woody debris/fuel next to the trail will cause it to burn hotter and further damage the trail.)

Photo: VanWeelden Creative
2) Overgrown Brush
Here on the Timber Trail and everywhere in the PNW things like to grow. Fast. Conifers, Rhododendrons, Manzanita, Ceanothus, Huckleberries, Beargrass, Thimbleberries, are just a few of the worst offenders. They can poke your hands and eyes, grab your handlebars, and reduce visibility to a few feet. At our stewardship campouts we use power brushes made specifically for this job, but a good pair of hand loppers can get a lot done very quickly.
Cut wider than you think: you don’t want to do this again next year do you? Cut the offending branch all the way back at the trunk or ground. Hopefully the trail will only need to be brushed out every 4-5 years. Pay attention to sightlines and corners, you want extra room and visibility here.
Booby traps: Don’t leave sharp ends anywhere. Cut flush with the ground or tree trunk.
Go high: Most of the trails are used by equestrians as well and require brushing to be done as high as you can safely reach.

Photo: VanWeelden Creative
3) Widening & Braiding
We’ve all seen it—riders skidding before a turn, hikers cutting switchback corners, and everyone going off trail to avoid mud or other obstacles. These issues tend to get worse if the root of the problem is not addressed.
Add a large rock or a log to the inside of a switchback corner to prevent short-cutting.
Clear debris off the backslope (uphill) radius of the turn to give approaching riders more room.
Clear sightlines before a turn so riders know to slow down in time.
If there’s a wide wet or muddy area, block off any wide spots or wrong turns with logs, debris, and large rocks to force users along the original narrower path.
If at all possible try to clear drainage for wet & muddy areas so the water or moisture can run off and away from the trail. These drains should be wide, shallow features with a slight outslope to the downhill side of the trail.

Photo: Gabriel Tiller
4) Drainage
Who do you think damages trails the worst? Bikers? Horses? Hikers? Nope, water is the most devastating culprit. Every time it rains or snow melts, water runs along the ground’s surface before it soaks in; and if it finds a nice trail it’ll run along it until you tell it to stop. And wherever water moves it picks up soil and removes it—turning some trails into unusable rocky stream beds. A trail without proper drainage can be completely obliterated in one strong rainstorm. All of this erosion is not only bad for a sustainable trail, it can have a significant negative impact on water quality in nearby streams. Any time you’re working on a trail you should: “Think like water.”
The trail should have a slight ‘outslope’ everywhere so water naturally runs off the downhill side instead of along the trail itself. If this isn’t the case, find a natural low spot and try kicking a shallow drain with your heel. It’s a temporary fix but could save a lot of work in the future.
Oftentimes there are already drains or grade reversals constructed, but they’re blocked with sediment and forest debris. Clean them out so there’s a clear exit for runoff.
In order to build a grade reversal or water bar correctly you need to move a lot more dirt than you realize. Don’t waste your time, but do take a photo and leave a Trail Report on Trailforks. We try to monitor Trailforks and prioritize maintenance issues along the route.
Recommended tools
Okay, so what tools do we recommend? Sure there’s a ton of options out there all with their pluses and minuses, but lucky for you the tools you’ll want to carry on a ride are simple and relatively cheap. What are your favorite tools and tricks?
1) Your shoe
Yup. Most tread issues are drainage issues, and the heel of your shoe is a very effective tool for creating natural places for water to drain off the trail. $FREE
2) Your (gloved) hands
There are all sorts of fancy gadgets for sawing, chopping, and lopping but when it comes down to it, the vast majority of trail blockages can be fixed with your (gloved) hands. $FREE

3) Fiskars Loppers
Loppers aren’t as sexy as a handsaw but the PowerGear Super Pruner loppers are worth their weight in gold. (Which isn’t very much since these are so light. Maybe this is a bad analogy...) These loppers are extremely light and use a gear system for a mechanical advantage with a super sharp teflon coated blade. They’re small enough to carry in a hydration pack but can easily snip branches and saplings up to 1.25”. Don’t go bigger, these pack the best punch for their weight. $30.

4) Silky Big Boy (plus honorable mentions)
There are a lot of neat folding handsaws out there but we’re strong advocates for the Japanese arborist brand Silky. They have a myriad of options but we prefer the Silky BigBoy 2000. It’s got a 14” blade with XL teeth—which is what you want for trail work. There are smaller options, but you’ll want a saw blade that’s at least 10”—any log that can be cut with a shorter blade is probably movable without sawing it first. The only downside? The teeth are somewhat exposed when closed and can catch on fabric in your pack. $70.
There’s also giant folding saws that work great but are hard to pack (Katanaboy), fixed blade saws that are bulky but deploy super quick if they’re frame-mounted (Gomtaro), and less expensive options (Corona)—but the most important thing is that you bring it and use it.
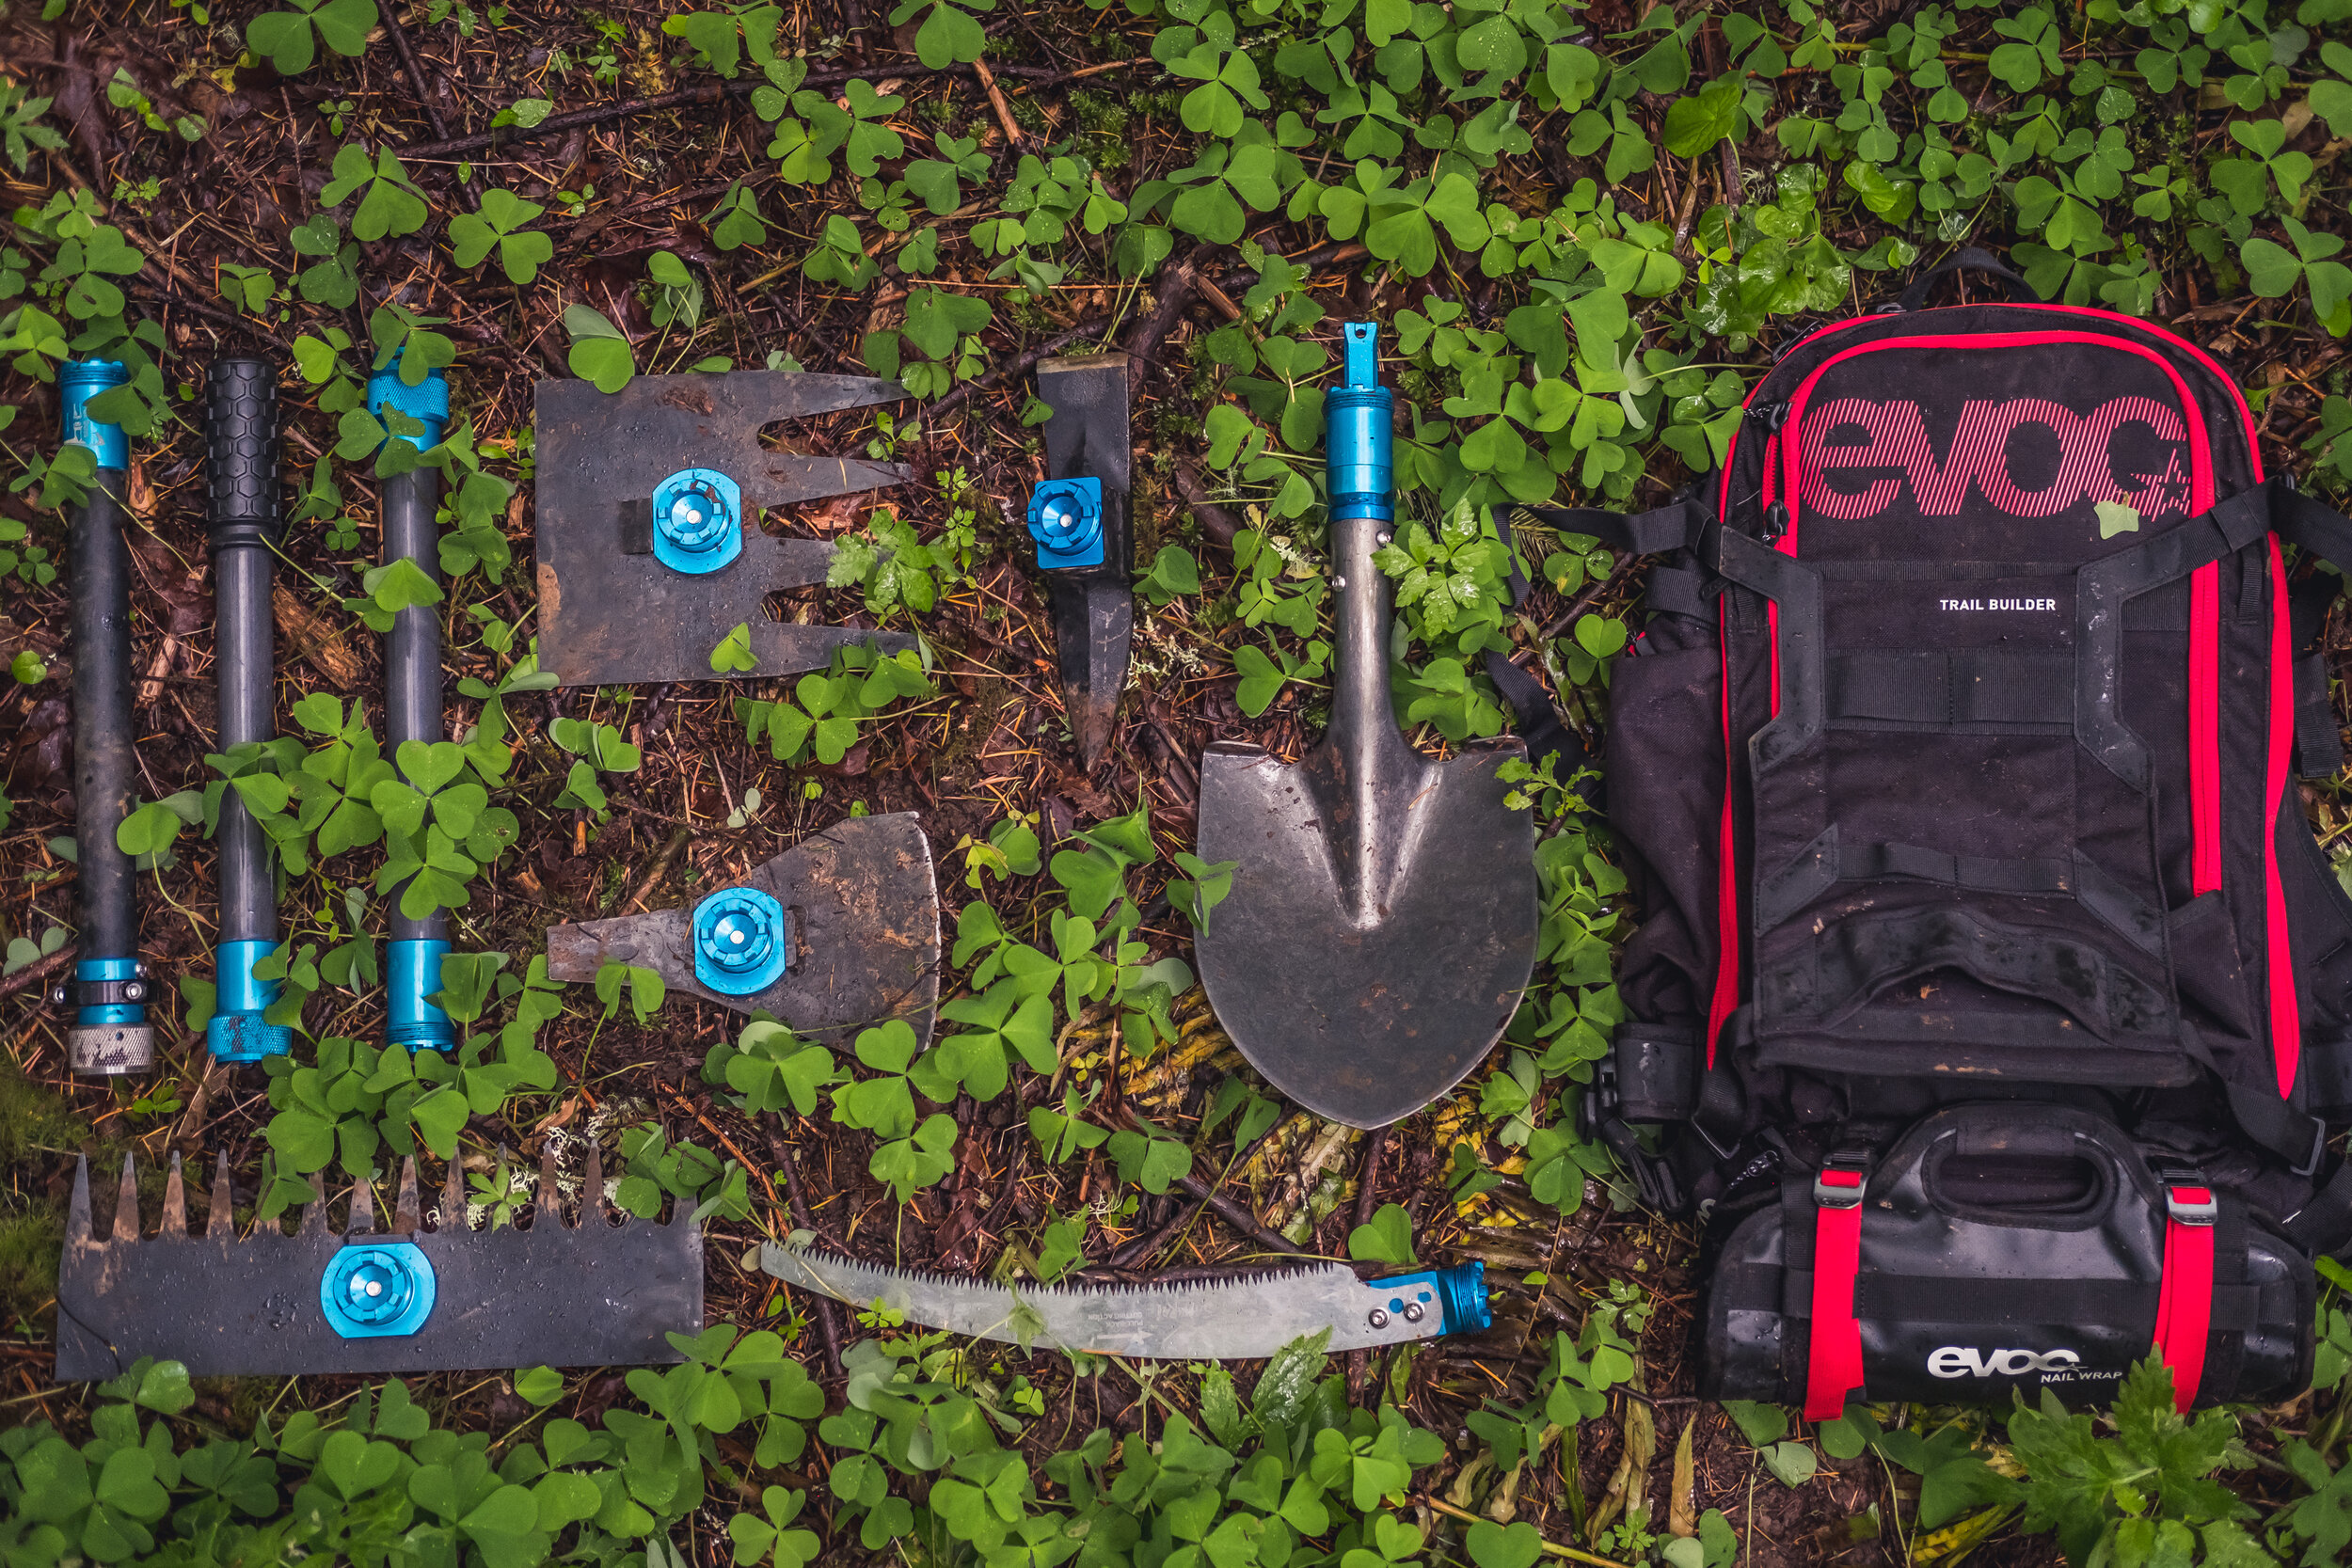
5) Trail Boss
The lightweight and collapsible modular Trail Boss tools are drool-worthy but expensive. They’re usually overkill for bringing on a casual ride but are indispensable for more focused trail maintenance activities on backcountry trails. $250 - $900
6) Trailforks

Record what you couldn’t fix. Submit a Trail Report on the Trailforks App—it only takes about 30 seconds and is invaluable for us tracking the condition of the 400+ miles of singletrack on the OTT. $FREE
Wait, there’s more!
Did you know that the OTTA receives grant money to build and repair trails? And we only get that grant money if we log a certain number of volunteer hours each year.
Record your time
If you do any trail work at all on the OTT, please record your hours (including driving time) using the easy reporting feature on Trailforks.
Donate
Don’t live in Oregon? Can’t find the time for trailwork? Consider donating money to the Oregon Timber Trail Alliance or other regional trail organization. Mountain bike groups like us contribute over 30,000 volunteer hours on Oregon’s trails each year.
Keep Learning

IMBA’s one-page Trail Conservation Guide
A simple graphic representation of basic trail building and maintaining techniques. Save it to your phone for reference in the field!

USFS Trail Class Specifications
99% of the Oregon Timber Trail is on USFS managed lands and trails. Within our trail network there are five classes of trails ranging from primitive to paved. Most trails on the OTT are Trail Class 3, here are some photo examples of each class and a PDF matrix quantifying the differences. Whenever we do trail stewardship our goal is to bring the trail up to the correct specifications.
NW Trail Alliance
Learn the basics from NWTA’s Trail Sustainability Institute.
Trailkeepers of Oregon (TKO)
Learn more about techniques from Trailkeepers University in this video series.